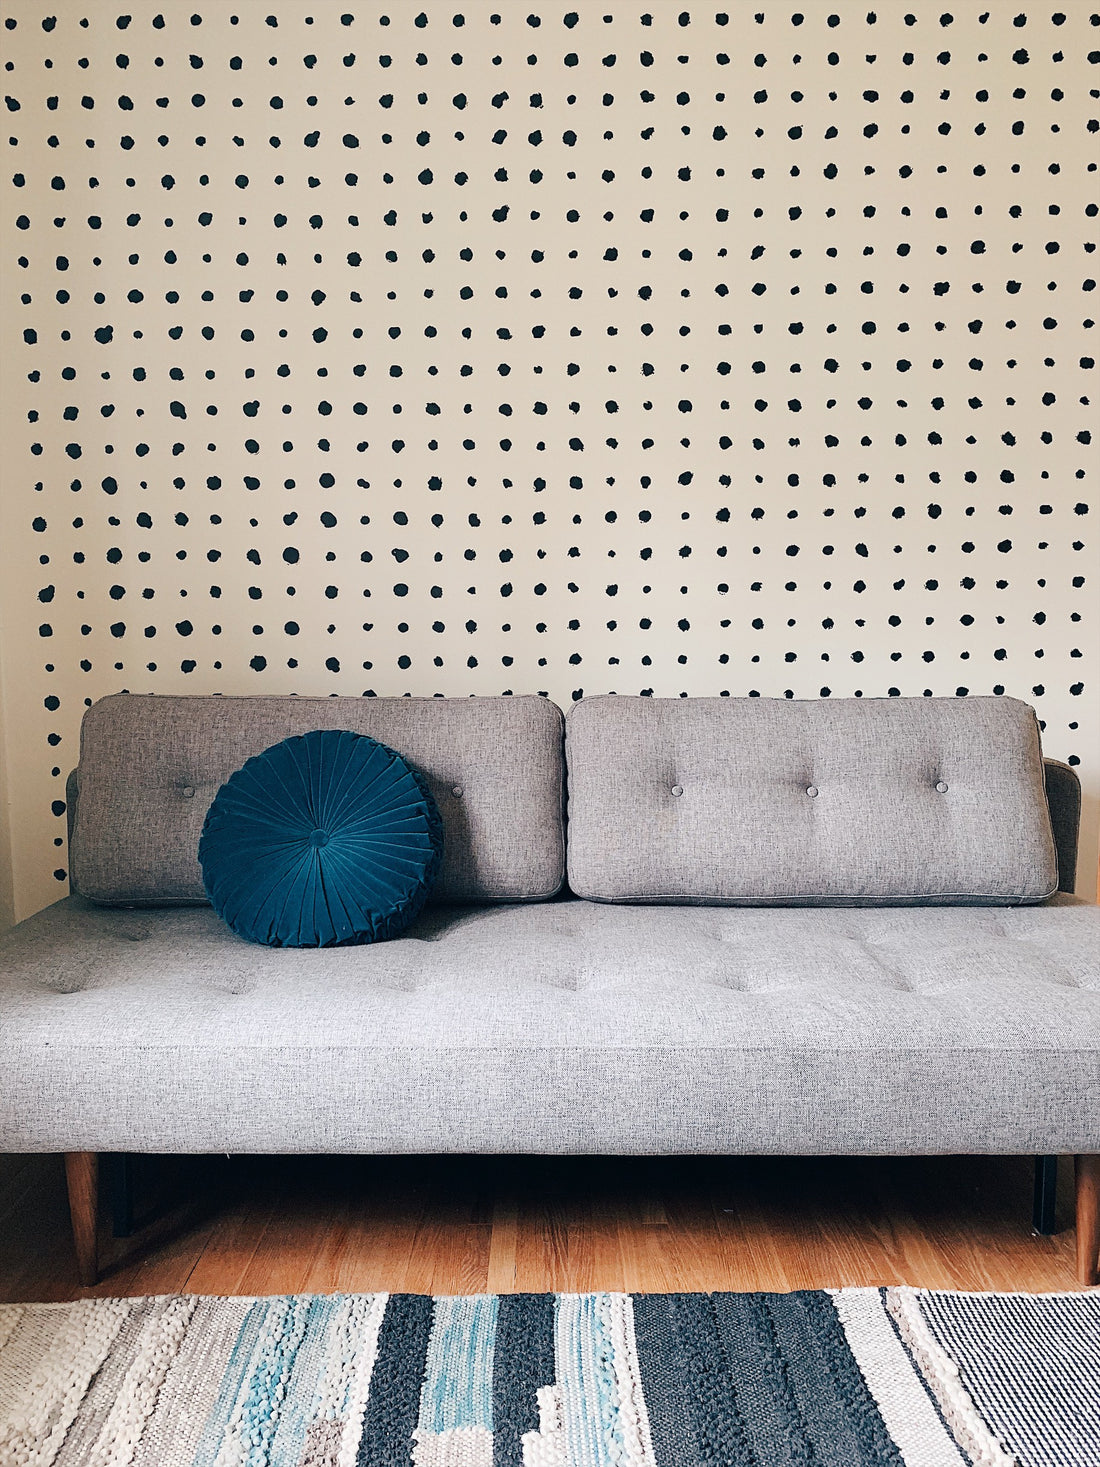
After tearing 2 layers of wallpaper and maybe a little sheetrock off of our office walls we swore we would never touch the wallpaper again. But now it’s 2 years later and I tend to forget all the work it was. Lately I have been drooling over all the gorgeous wallpapers out there, dreaming up a place to put them! 😬 Our office has been sitting half done for quite some time because I’m always struggling to find artwork for the walls. So, of course, LIGHTBULB! The perfect place for wallpaper! It needs to be noted that even though I have gotten over the wallpaper, Nate has not! I somehow managed to talk him into it promising him that wallpaper now is way easier to remove 🤞😁 We decided on this amazing pattern from Drop It Modern. They are such a great source for modern unique wallpaper!

Drop It Modern // Dotted Line Wallpaper in Black & White
Unfortunately once we did the math on how much we needed it was way out of our budget 😩 I’m starting to realize though that when the budget is tight, you are willing to take more chances on getting creative. Since it was a room that already had the sheetrock damaged I felt like it was the perfect place to do some experimenting. We already had some leftover dark paint so why not try and make our own wallpaper!

Luckily it cost us next to nothing to give it a try! The great part about this pattern is that the whole point is the imperfection and handmade feel. Here are the supplies that we used but if you decide to give it a go I think you could switch up the brush sizes as much as you want just make sure they are as big as you want the dots to be.
SUPPLIES:
- Lazer Level
- Yard Stick
- Pencil
- Paint of your choice, quart size is more than enough! (ours was Midnight Oil by Benjamin Moore)
- Size 30 & 40 round paint brush (we got ours from Blick)
I started by doing a sample piece of paper to see how the dots would look with the brushes I got. I also used this sheet to decide how far apart I wanted the dots to be. On my sample I did 2.5″ apart but ended up going with 3″ apart on the actual wall. This was a total bonus because then we didn’t have to do as many dots! Once I was happy with my sample we started by measuring out where we would place the dots on our wall. This process is definitely tedious but maybe only took us an hour tops. We used a laser level and marked horizontally every 3 inches. We did this for about 3 or 4 rows and then we used a yard stick to measure vertically for the rest. We matched it up with a few rows above it to make sure they were in line with each other. The great part about this pattern is that the measurements don’t have to be perfect for it to look good so we didn’t have to sweat it if we were off a little here and there.

Once we had it all measured we went to town with painting the dots. I tried to be as random as I could because the thing I loved about the wallpaper is how imperfect it was. How much more imperfect to do it by hand! I didn’t do them in order and I switched up my brushes constantly.


Progress in comparison with the wallpaper sample

The process definitely takes patience but it was definitely worth it! I may already be planning for another wall 😬 Let me know if you decide to give it a go or if you have done a faux wallpaper yourself!

